
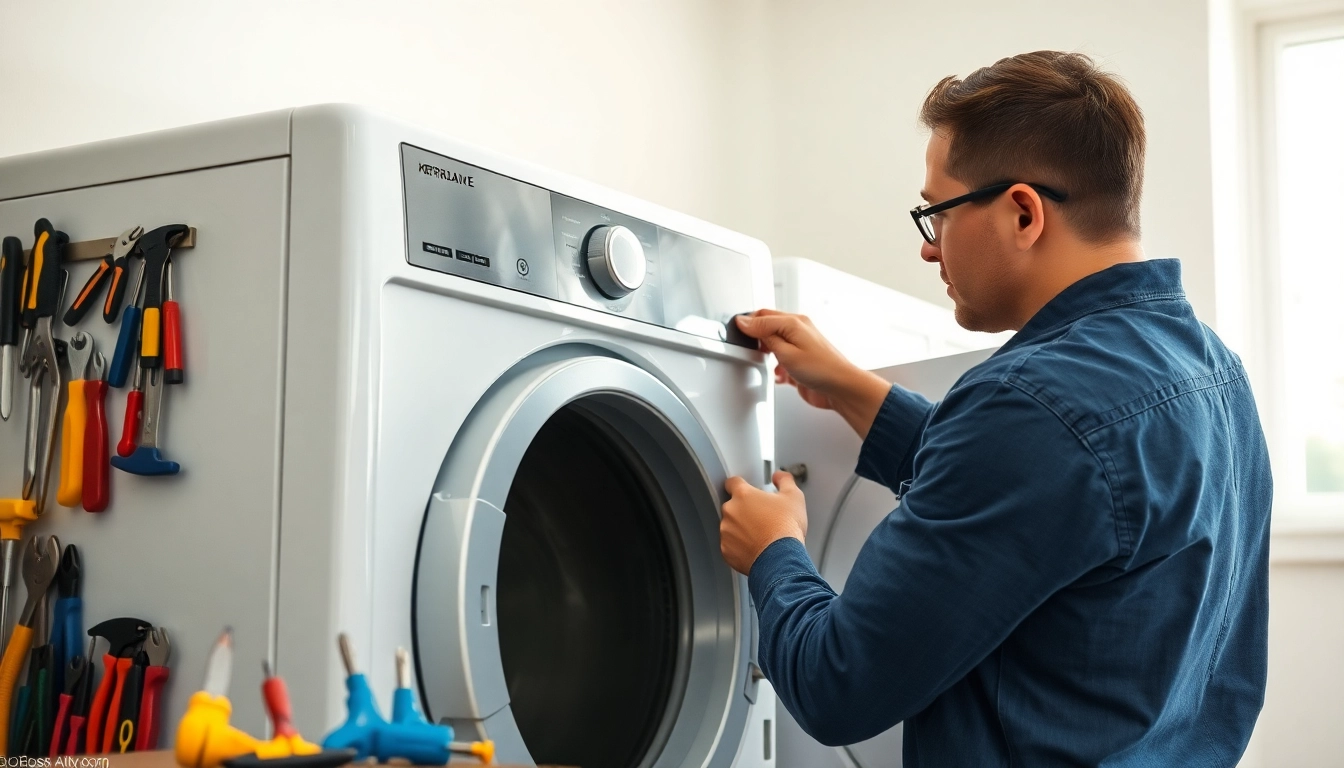
Understanding Common Dryer Issues
Every household relies on its dryer, yet when it malfunctions, it can be incredibly frustrating. Understanding common dryer issues can help you identify the root cause of any problems quickly. This not only saves time but can also save you money on professional repairs. If you need assistance, you can fix dryer problems with the right guidance. Let’s delve into some typical aspects of dryer malfunction.
Common Symptoms of a Broken Dryer
Recognizing the symptoms of a malfunctioning dryer is the first step towards effective troubleshooting. Here are some common signs:
- No Power: When you press the start button, nothing happens.
- Dryer Doesn’t Heat: Clothes come out damp or cold.
- Drum Won’t Spin: The drum remains still while the machine runs.
- Unusual Noises: Loud squeaks or grinding noises are indicators of potential issues.
- Lint Buildup: Excess lint accumulation around the filter or exhaust duct may indicate poor airflow, which can be hazardous.
Decoding Dryer Error Codes
Modern dryers often feature error codes to simplify diagnostics. Understanding these codes can save you from guesswork:
- E01: Indicates a problem with the door switch.
- E02: Signifies a heating element issue.
- E03: Indicates that there’s an issue with the thermostat.
- E04: Usually means that there are ventilation problems.
Always refer to the user manual specific to your dryer model for accurate error code definitions.
Safety Precautions Before Repairing
Safety is paramount when dealing with electrical appliances. Before attempting any repairs:
- Unplug the dryer to avoid electric shock.
- Ensure that the space is well-ventilated.
- Wear protective gear such as gloves and goggles.
- Never attempt repairs on a wet appliance.
How to Fix Dryer That Won’t Start
A dryer that won’t start can be frustrating, but often the solutions are straightforward. Start with these checks:
Checking Power Supply and Circuit Breakers
First, check if the dryer is receiving power:
- Ensure the dryer is plugged in securely.
- Check the circuit breaker to see if it has tripped.
- Inspect the power cord for any damages.
Inspecting the Door Switch
The door switch is a safety feature that prevents the dryer from operating when the door is open. If it’s faulty:
- Test the switch with a multimeter.
- If it’s not working, replace it.
Testing the Start Switch
If the power supply and door switch are intact, the start switch may be at fault:
- Use a multimeter to check for continuity.
- Replace the start switch if necessary.
Tackling Dryers Not Heating Properly
Dryers that do not heat could be a significant inconvenience. Here are steps to address this issue:
Examining the Heating Element
The heating element is crucial for producing heat in a dryer. If it’s broken, the dryer won’t heat up:
- Inspect the heating element for any signs of damage, such as burn marks.
- Test it with a multimeter and replace if required.
Assessing the Thermostat and High-Limit Switch
These components regulate the temperature inside the dryer. If they fail:
- Test them with a multimeter for continuity.
- Replace them if they’re faulty.
Cleansing Ventilation and Ducts
Clogged vents can prevent heat from properly circulating:
- Detach the dryer from the duct and check for buildup.
- Regularly clean the lint trap and ducts to ensure effective operation.
Repairing Drum That Won’t Spin
If your dryer drum is not spinning, this may indicate mechanical failure:
Checking the Drive Belt and Motor
The drive belt connects the motor to the drum. If broken, the drum will not spin:
- Inspect the belt for breaks or wear.
- Test the motor to ensure it’s functioning correctly.
Inspecting the Idler Pulley and Roller
These components help maintain tension on the drive belt:
- Ensure the idler pulley is in good working order.
- Replace rollers if they show signs of wear or damage.
Testing the Drum Support Bearings
Worn out drum support bearings can cause the drum to seize up:
- Inspect and lubricate them periodically.
- If defective, replace them to restore smooth operation.
Maintenance Tips to Prevent Future Issues
Regular maintenance can prevent many common dryer issues. Consider the following tips:
Regular Cleaning and Maintenance Routines
Establish a regular cleaning schedule:
- Clean the lint filter after every use.
- Periodically check and clean the venting system.
Best Practices for Dryer Usage
Adopting best practices when using the dryer can prolong its lifespan:
- Avoid overloading the dryer to facilitate even distribution of weight.
- Use appropriate heat settings based on the fabric type.
How to Schedule Professional Maintenance
For complex issues, consult a professional:
- Establish a relationship with a reliable technician for routine checks.
- Keep records of maintenance and repairs for reference.
FAQs
What is the average cost to fix a dryer?
The average cost of repairing a dryer ranges from $100 to $400, depending on the issue and complexity of the repair.
How can I tell if my dryer belt is broken?
If the drum does not spin while the dryer is running, or you hear a loud thumping noise, the belt may be broken or misaligned.
Is it worth fixing a ten-year-old dryer?
This depends on the repair cost. If repairs exceed 50% of a new model, consider purchasing a new dryer for better efficiency and energy savings.
How often should I clean my dryer vent?
It’s recommended to clean the dryer vent at least once a year, or more frequently if you notice longer drying times or lint accumulation.
Can I use my dryer without a lint filter?
No, using a dryer without a lint filter poses a fire risk and poor drying performance. Always ensure the lint filter is in place and clean.