
Efficient and Effective Vapor Barrier Installation Techniques for Your Home
Understanding Vapor Barrier Installation
What is a Vapor Barrier?
A vapor barrier is a fundamental component in the construction and maintenance of buildings, particularly in areas prone to moisture, such as basements and crawl spaces. Essentially, it is a material designed to resist the diffusion of moisture from the ground or the living spaces into the home’s interior. Commonly made from polyethylene plastic, vinyl, or foil, the vapor barrier is typically placed on the ground or walls of a space to prevent moisture-related issues that can compromise structural integrity and indoor air quality. By controlling moisture levels, vapor barriers contribute significantly to the lifespan and performance of building materials.
Benefits of Vapor Barrier Installation
The implementation of a vapor barrier provides numerous advantages. Firstly, it helps to prevent mold and mildew growth by minimizing excess moisture, which can lead to significant health issues for inhabitants. This is critical in maintaining a healthy indoor environment. Secondly, vapor barriers can enhance energy efficiency by keeping conditioned air inside the structure. This, in turn, lowers heating and cooling costs, offering economic benefits to homeowners. Additionally, vapor barriers can prolong the life of building materials, such as wood and insulation, preventing rot and decay that can occur if moisture penetrates these structures. For comprehensive protection against moisture issues, proper Vapor Barrier Installation is essential.
Common Misconceptions about Vapor Barriers
Despite their importance, there are several misconceptions surrounding vapor barriers. One common myth is that vapor barriers are only necessary for homes located in humid climates. In truth, any home can benefit from vapor barriers, regardless of regional humidity levels. Another misconception is that vapor barriers completely eliminate moisture. While they significantly reduce moisture migration, they do not create a completely dry environment; hence, additional moisture control measures may be necessary. Additionally, some believe that vapor barriers are an unnecessary expense, but the long-term savings in repair and energy costs can far outweigh the initial investment.
Preparing for Vapor Barrier Installation
Assessing Your Space
Prior to installation, a comprehensive assessment of the space is essential. Examine the area for existing moisture issues, including standing water, dampness, or signs of mold and mildew growth. Assess the foundation for cracks or structural defects that may allow moisture entry. Properly evaluating the existing conditions will help determine the suitable type of vapor barrier and installation method required for your specific situation. Additionally, consider the size of the area to be covered to ensure that you procure enough material for effective coverage.
Choosing the Right Materials
Selecting appropriate materials is crucial for the efficiency of the vapor barrier. Polyethylene plastic is a popular choice due to its moisture resistance and availability in various thicknesses. The thickness of the material typically ranges from 6 mils to 20 mils; thicker films generally provide better durability but may also cost more. In addition to polyethylene, consider using reinforcing materials for high-traffic areas or where the barrier may be exposed to punctures. Understanding the specific moisture conditions of the location will aid in determining the right type of vapor barrier material to use.
Essential Tools for Installation
To ensure an efficient installation, gather the essential tools before starting the process. Key tools include a utility knife for cutting the vapor barrier material, a stapler or tape for securing the barrier, and a measuring tape for precise dimensions. Some installations may also require a paint roller or brush for adhesives, especially if opting for a sealant approach. Preparing a clean, well-organized workspace with all the necessary tools will facilitate a smoother installation process.
Step-by-Step Vapor Barrier Installation Process
Preparation of the Area
Before laying the vapor barrier, prepare the installation area meticulously. Clear the space of debris and ensure a flat, clean surface to prevent damage to the barrier. If there are any cracks or holes in the foundation, seal them with a suitable filler to eliminate potential entry points for moisture. If the ground is rocky or uneven, consider using a layer of sand or gravel to create a smooth base. This preparation also includes addressing existing water issues, such as fixing drainage problems, that can undermine the effectiveness of the vapor barrier.
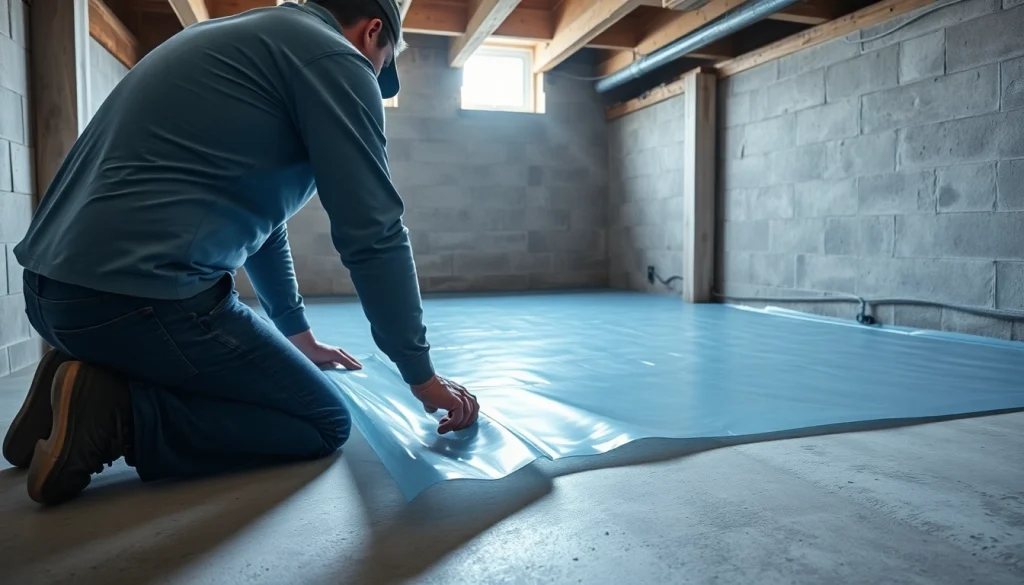
Installation of the Vapor Barrier
To install the vapor barrier, roll out the material across the prepped area, ensuring there are no wrinkles or folds that could compromise effectiveness. For crawl spaces, place the barrier over exposed soil and extend it up the walls slightly. Use a utility knife to cut the material to size. When overlapping seams of the vapor barrier, ensure they overlap by at least 12 inches and seal them with appropriate tape or adhesive to prevent moisture passage. If you’re covering walls, make sure the barrier is firmly secured to prevent any sagging or displacement.
Sealing and Finishing Touches
Once the vapor barrier is in place, sealing all edges and seams is essential for ensuring maximum efficacy. Use a high-quality tape designed for vapor barriers to secure all seams and connect the barrier to any walls, ensuring a tight and moisture-proof seal. Additionally, inspect for gaps or spaces where moisture could potentially enter and address these using a sealant. Planning to cover the vapor barrier with insulation can further enhance energy efficiency and provide additional protection against moisture ingress.
Common Challenges and Solutions in Vapor Barrier Installation
Dealing with Moisture Issues
Moisture management is one of the primary challenges during vapor barrier installation. If previously identified moisture problems are not adequately addressed, it can lead to failure of the vapor barrier. Solutions include implementing a comprehensive drainage system, using sump pumps to handle excess water, and improving the ventilation of the area. In more serious cases, consulting with experts on pre-installation treatments, such as sealants or moisture barriers, may be necessary to ensure a lasting solution.
Handling Uneven Surfaces
Uneven surfaces present another challenge during installation. When dealing with irregularities, consider using leveling compounds or base layers like sand or gravel to create a uniform surface for the installation. This approach not only protects the vapor barrier from tears but also enhances its performance by preventing water pooling beneath the barrier. In some cases, custom cutting of the vapor material may be required to accommodate larger bumps, depressions, or obstructions.
Cost Considerations
When planning for vapor barrier installation, costs can be a significant concern. The overall expense will depend on the size of the area, the type of material selected, and whether additional moisture control measures are needed. While it may be tempting to choose cheaper materials, investing in quality vapor barriers can lead to long-term savings by avoiding future repairs and energy losses. Obtain multiple estimates to ensure competitive pricing and discuss the long-term benefits of different materials with installation professionals.
Maintenance and Inspection after Vapor Barrier Installation
Routine Checks to Ensure Effectiveness
After installation, regular inspections are imperative to ascertain the continued effectiveness of the vapor barrier. Check for signs of moisture buildup, condensation, or mold growth around the perimeter of the barrier. If possible, conduct seasonal inspections to monitor changes, especially during periods of heavy rain or snowmelt. Maintaining proper drainage and ensuring ventilation remains adequate are also key components of ongoing maintenance.
Signs That May Indicate Issues
Several signs may indicate that there’s an issue with your vapor barrier. Look out for unusual odors, persistent condensation on walls, or visible mold growth. Additionally, if you notice increased humidity levels in the space or damage to other building materials nearby, further investigation is warranted. Promptly addressing these issues can prevent larger problems and expensive repairs in the future.
When to Call a Professional
While many homeowners can undertake vapor barrier installation as a DIY project, certain scenarios may require professional assistance. If you encounter significant moisture problems, structural issues in your crawl space or basement, or if you’re unsure about the material choice and installation process, consulting professionals will ensure the efficacy of the installation. Moreover, using expert services can provide peace of mind and guarantee that the vapor barrier is adequately installed and maintained.
Frequently Asked Questions
What is a vapor barrier used for?
A vapor barrier is used to prevent moisture from entering a building, helping to reduce the risk of mold, mildew, and structural damage.
How thick should a vapor barrier be?
A vapor barrier should typically be at least 6 mils thick; however, opting for thicker materials can enhance durability and moisture resistance.
Can I install a vapor barrier myself?
Yes, many homeowners can install a vapor barrier; however, seeking professional advice is recommended for complex situations or severe moisture issues.
How often should I inspect my vapor barrier?
Regular inspections are advised, ideally once or twice a year, particularly after heavy rainfall or seasonal changes that may affect moisture levels.
What should I do if I find mold under the vapor barrier?
If mold is found, it’s essential to address the moisture source first, then consult professionals to safely remove the mold and assess the vapor barrier condition.